Your Bathroom Renovation Checklist – including Laundry
Bathrooms and laundries are often the last rooms in a home to get renovated. Because they are tucked away from sight, they are often overlooked for many years. This means that by the time they need renovation, there is a lot of work to do.
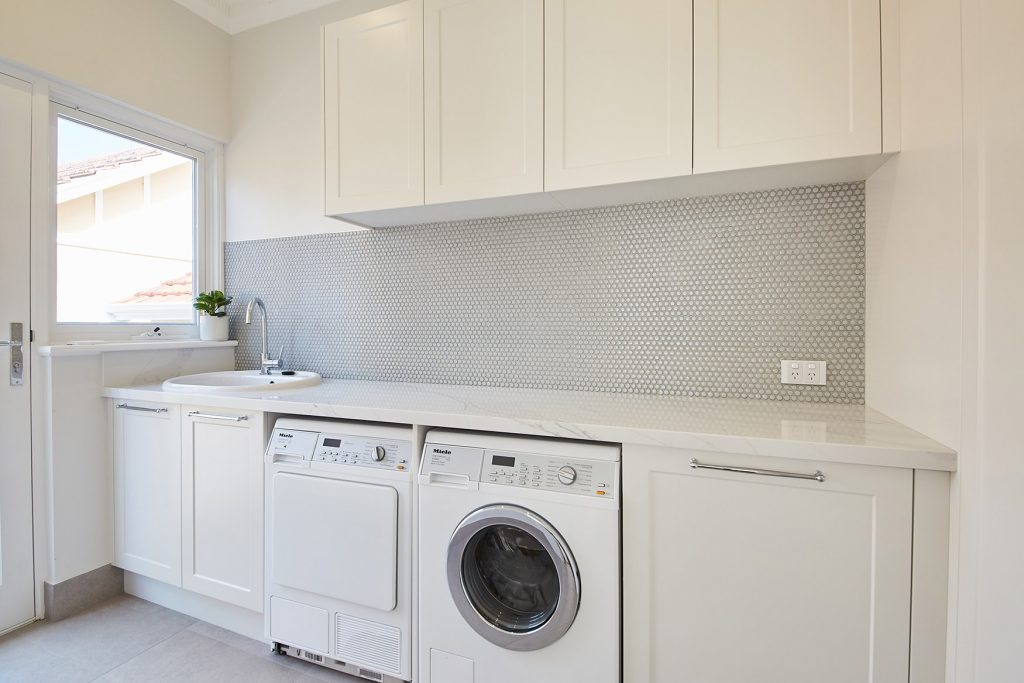
At Amerex, we find that most bathrooms we renovate are a complete gut-out and refurbishment. This is particularly the case with laundries which in days gone by, were often very basic rooms with a simple trough and washing machine. In the past, not much thought was given to laundry design and building in storage such as overhead cupboards in the laundry was rare.
Thankfully a lot has changed in bathroom and laundry design and renovating these rooms can bring a lot of benefits. Bathrooms are now much more luxurious and laundries offer so much more, especially in terms of providing more storage for the home.
Mistakes in bathrooms and laundries can be expensive
However, a word of warning, bathrooms, and laundries are the two areas in a renovation where problems are most likely to occur. For the home DIYer there are plenty of pitfalls and things to look out for. Getting the plumbing, electrical and tiling right in these rooms is important and when mistakes are made, rectification work can be difficult and expensive.

You need to perform a bathroom renovation inspection
Whether you are managing the renovation yourself or getting a professional renovation company to manage the project for you, performing an inspection at the end of your bathroom renovation and/or laundry renovation is vital. Getting trades back in 6 to 12 months down the track can be difficult. The earlier you spot a problem, the easier it is to get the tradie back to sort it out.
Below is a bathroom renovation checklist* that is designed to be used once your bathroom or laundry renovation has been completed. This will help you spot any issues as early as possible and make you more aware of what you need to look for.
*While all care has been taken in putting this bathroom inspection checklist together, it is worth noting that because new products and materials come into the industry all the time, this list does not (and cannot possibly) cover everything.
Your bathroom renovation checklist – including Laundry
- Plumbing – check that taps and mixers work, and the water drains away properly. Check that the hot is hot and the cold is cold. It is not unheard of for this to be installed the wrong way around. Make sure there are no leaks at any of the joins.
- Toilet plumbing – test both flush buttons and that no leaks occur. Even the smallest leak can become a big problem later on.
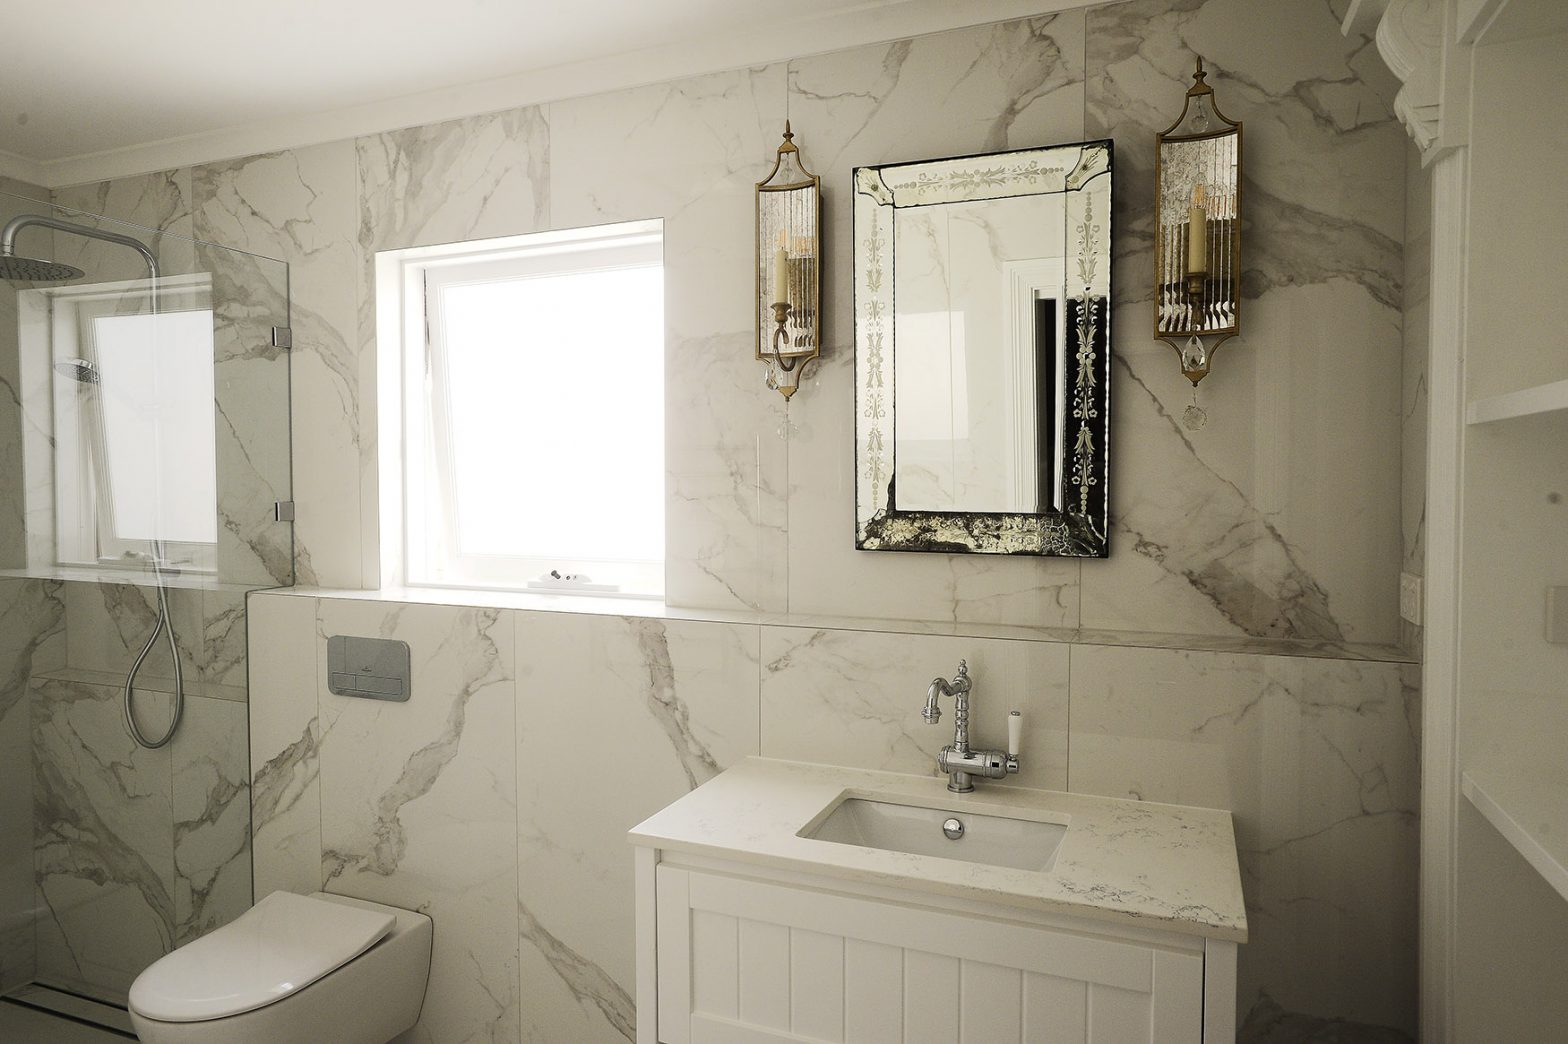
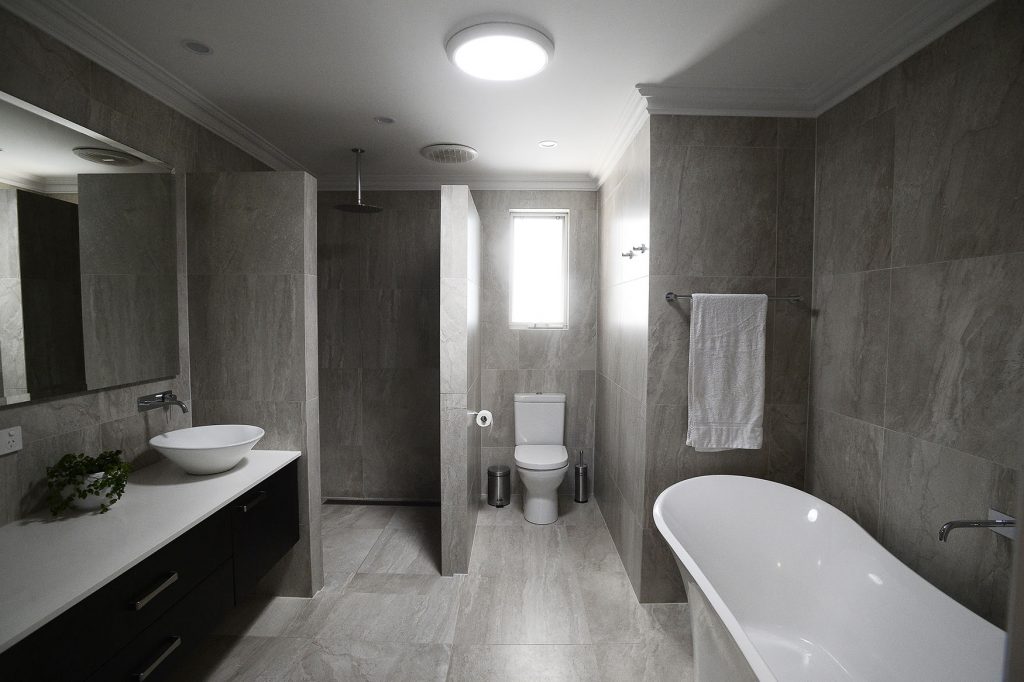
- Shower and bath plumbing – throw a bucket of water in the bath. Observe how long it takes to drain. Do the same in the shower and laundry trough. If it takes too long to drain, look for rubble that may be sitting in the drain. Unfortunately, this is a common and frustrating problem. You will need to remove the drain cover and use tongs to get out as much debris as possible. If it drains but you are left with a puddle in the shower, then the water is not falling to the drain correctly. Get the tiler back in, it may even be necessary to rip up all the tiles and tile again.
- Tiling – check wall and floor tiles, ensure there is no cracking, grouting is complete and silicone has been applied to the joints where the wall meets the floor, and where wall tiles meet other surfaces e.g. vanity bench.
- Accessories – check all are secure and ready for use e.g. soap holder, towel rail, toilet roll holder.
- Appliances – turn all powered items on and off. Test that exhaust fans, heated towel rails and lights are all in working order.
- Washing machine – check that the washing machine operates without leaks. Run a full cycle without washing powder.
- Painting – ensure cutting-in is neat, there are no drip marks or brush strokes, any drips on tiles or fixtures have been removed.

BURKEY’S TIP!
Always lay the floor tile tight up to the wall, and the wall tile sits on top of it. The wall tile should not touch the floor. By having the wall tile on top of the floor tile you can achieve a much better seal for waterproofing.
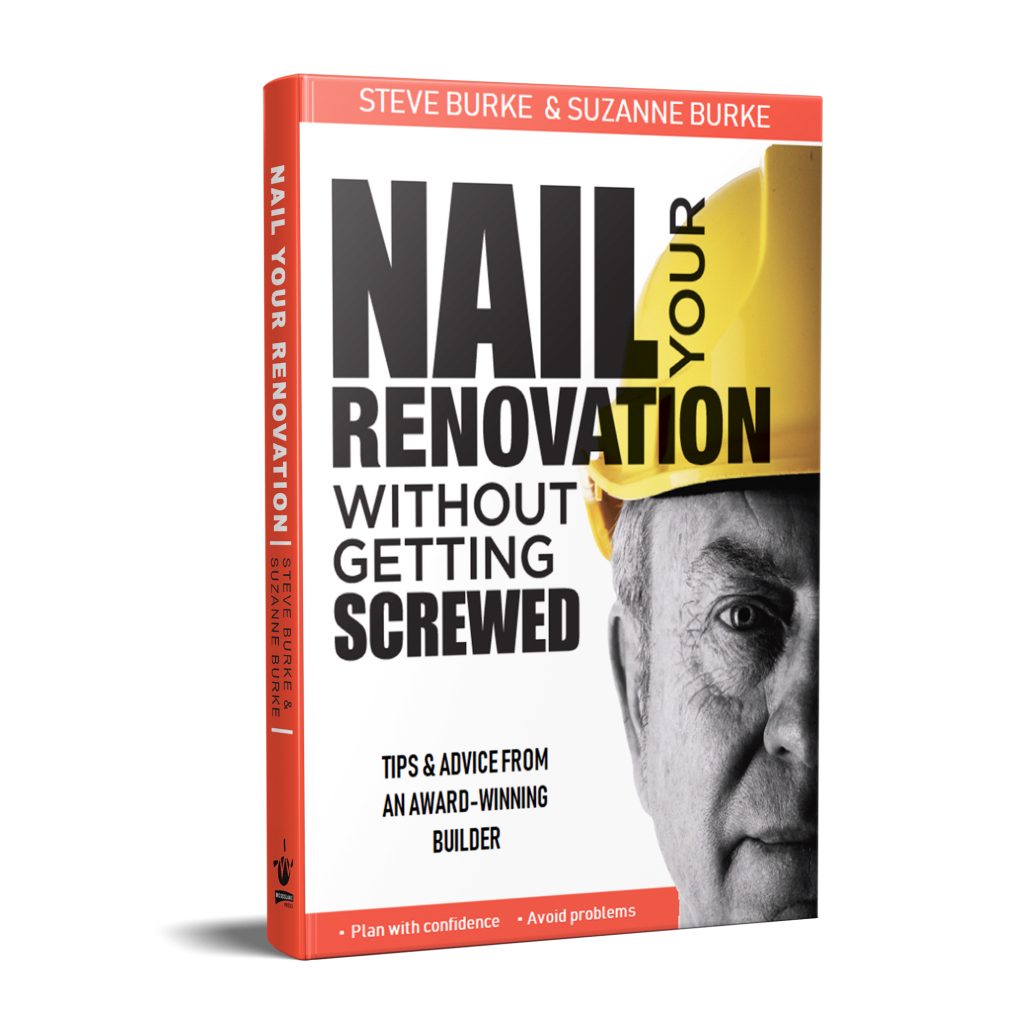
You can find more checklists and stacks more tips like this in the book written by Steve and Suzanne Burke ‘Nail Your Renovation without getting Screwed’. *Use BURKES15 for a 15% discount direct from our publisher.